A review of the Viltrox 27mm F1.2 - Is China the emerging titan of traditional photography?

Introduction

I have been shooting with Fujifilm gear since November 2012. Since then I have bought various camera bodies, both across the X and GFX series, with a combined total of 10 native Fujifilm lenses.

Never before have I been tempted to try another manufacturers glass.

However, one lens company has in recent times consistently caught my attention. Viltrox were the first to release auto-focus X-series lenses, but, I only really got interested in their products following the release of the 75mm f1.2. That lens has received accolades by many for its overall quality, and while I haven’t purchased or used it as yet, it certainly gave me greater confidence in purchasing their latest lens release, the Viltrox 27mm f1.2

I purchased the Viltrox 27mm f1.2 lens at the same time as the announcement of the Fujifim GF55 f1.7. Both lenses interested me, but ultimately I decided to hold off on the native Fuji GF lens and purchase the Viltrox. The extra light gathering ability and more generous depth of field at wider apertures on an APSC sensor makes for a compelling tool at weddings or events with poor natural lighting.

Buying direct from China

I purchased my copy of the Viltrox 27mm f1.2 via the official Viltrox store. The lens took about a week after purchase to travel from Guangzhou, China to Dunedin, New Zealand. It came via Fedex and in summary was excellent service.

Lens build quality

The lens is solid and has some heft to it. I shoot with GFX as well, so I don’t mind the weight, especially if the glass can give me an edge in low light conditions. The construction uses quality components, I have no complaints on build quality.

First real world use

I received this lens on a Friday, and the next day I took it on a client job to shoot a real estate agent with the vendor and buyer of a church in Central Otago. The church had small windows so there were patches of light I could work with to photograph the 3 people. The 27mm provides a nice normal field of view on APSC sized sensors and the ability to shoot at f1.4 or f1.6 with multiple subjects in the frame all in focus was greatly appreciated. I cannot share any of those images as my agreement negates the ability to publish images from the shoot. What I can say though is the images I took were sharp, even from f1.2. The only minor buzz kill was the prominent vignetting at f1.2 and also the overall less contrasty raw files you get straight out of camera, but, a little work in post, and you can be very happy with the results.

Indoor low light samples

The portrait below is of Sue, an antique shop owner and one of my clients. I just shot the lens wide open using available light, and was able to shoot at 1/125th sec at ISO200. The DOF in this instance gives good context to the subjects environment.

SueTodd, www.suetoddantiques.co.nz

This next two images are of my Dad and Mum, both shot wide open, and they are plenty sharp for my needs. Any vignetting is not really an issue here as it has a nice effect. I am noticing the fall off at f1.2 is quite abrupt, not the same as my GFX50sII files, but this is an unfair comparison.

Street Photography

Below late afternoon sun creates a spotlight in this Lego mural on Willis Street in Wellington. Shot @f2.5. I’d say this lens is a little big for staying discreet on the street.

Willis Street, Wellington.

At f4 this lens is super sharp, and I’m loving what is coming out of the camera. Below is a pic taken at f4 of the Fortune Favours bar and brewery.

More Low light photography

The next image was taken in the early evening at a Wellington restaurant called Olive. I shot it wide open at f1.2 and there is enough DOF for both my friends Mel and Jason to be in focus, that’s a real bonus for a mid-waist type image. You can see I could fit 4 people in this frame, great news for low light group shots.

I support a local charity called K9 Medical Detection (K9MD) by volunteering my photography services. K9MD is training dogs to accurately detect various forms of cancer via smelling urine samples. This year we had a big Zonta fashion show charity fundraiser, I wasn’t working, but, you guessed it, another chance to see how the Viltrox performed. For a wide establishing shot, giving context to the environment the lens worked well. Other than that, this scenario required at least a 70-200mm.

Jonathan Usher, local magician and all round top man entertaining the crowd.

Dress up party with the Adams Family shot at f2

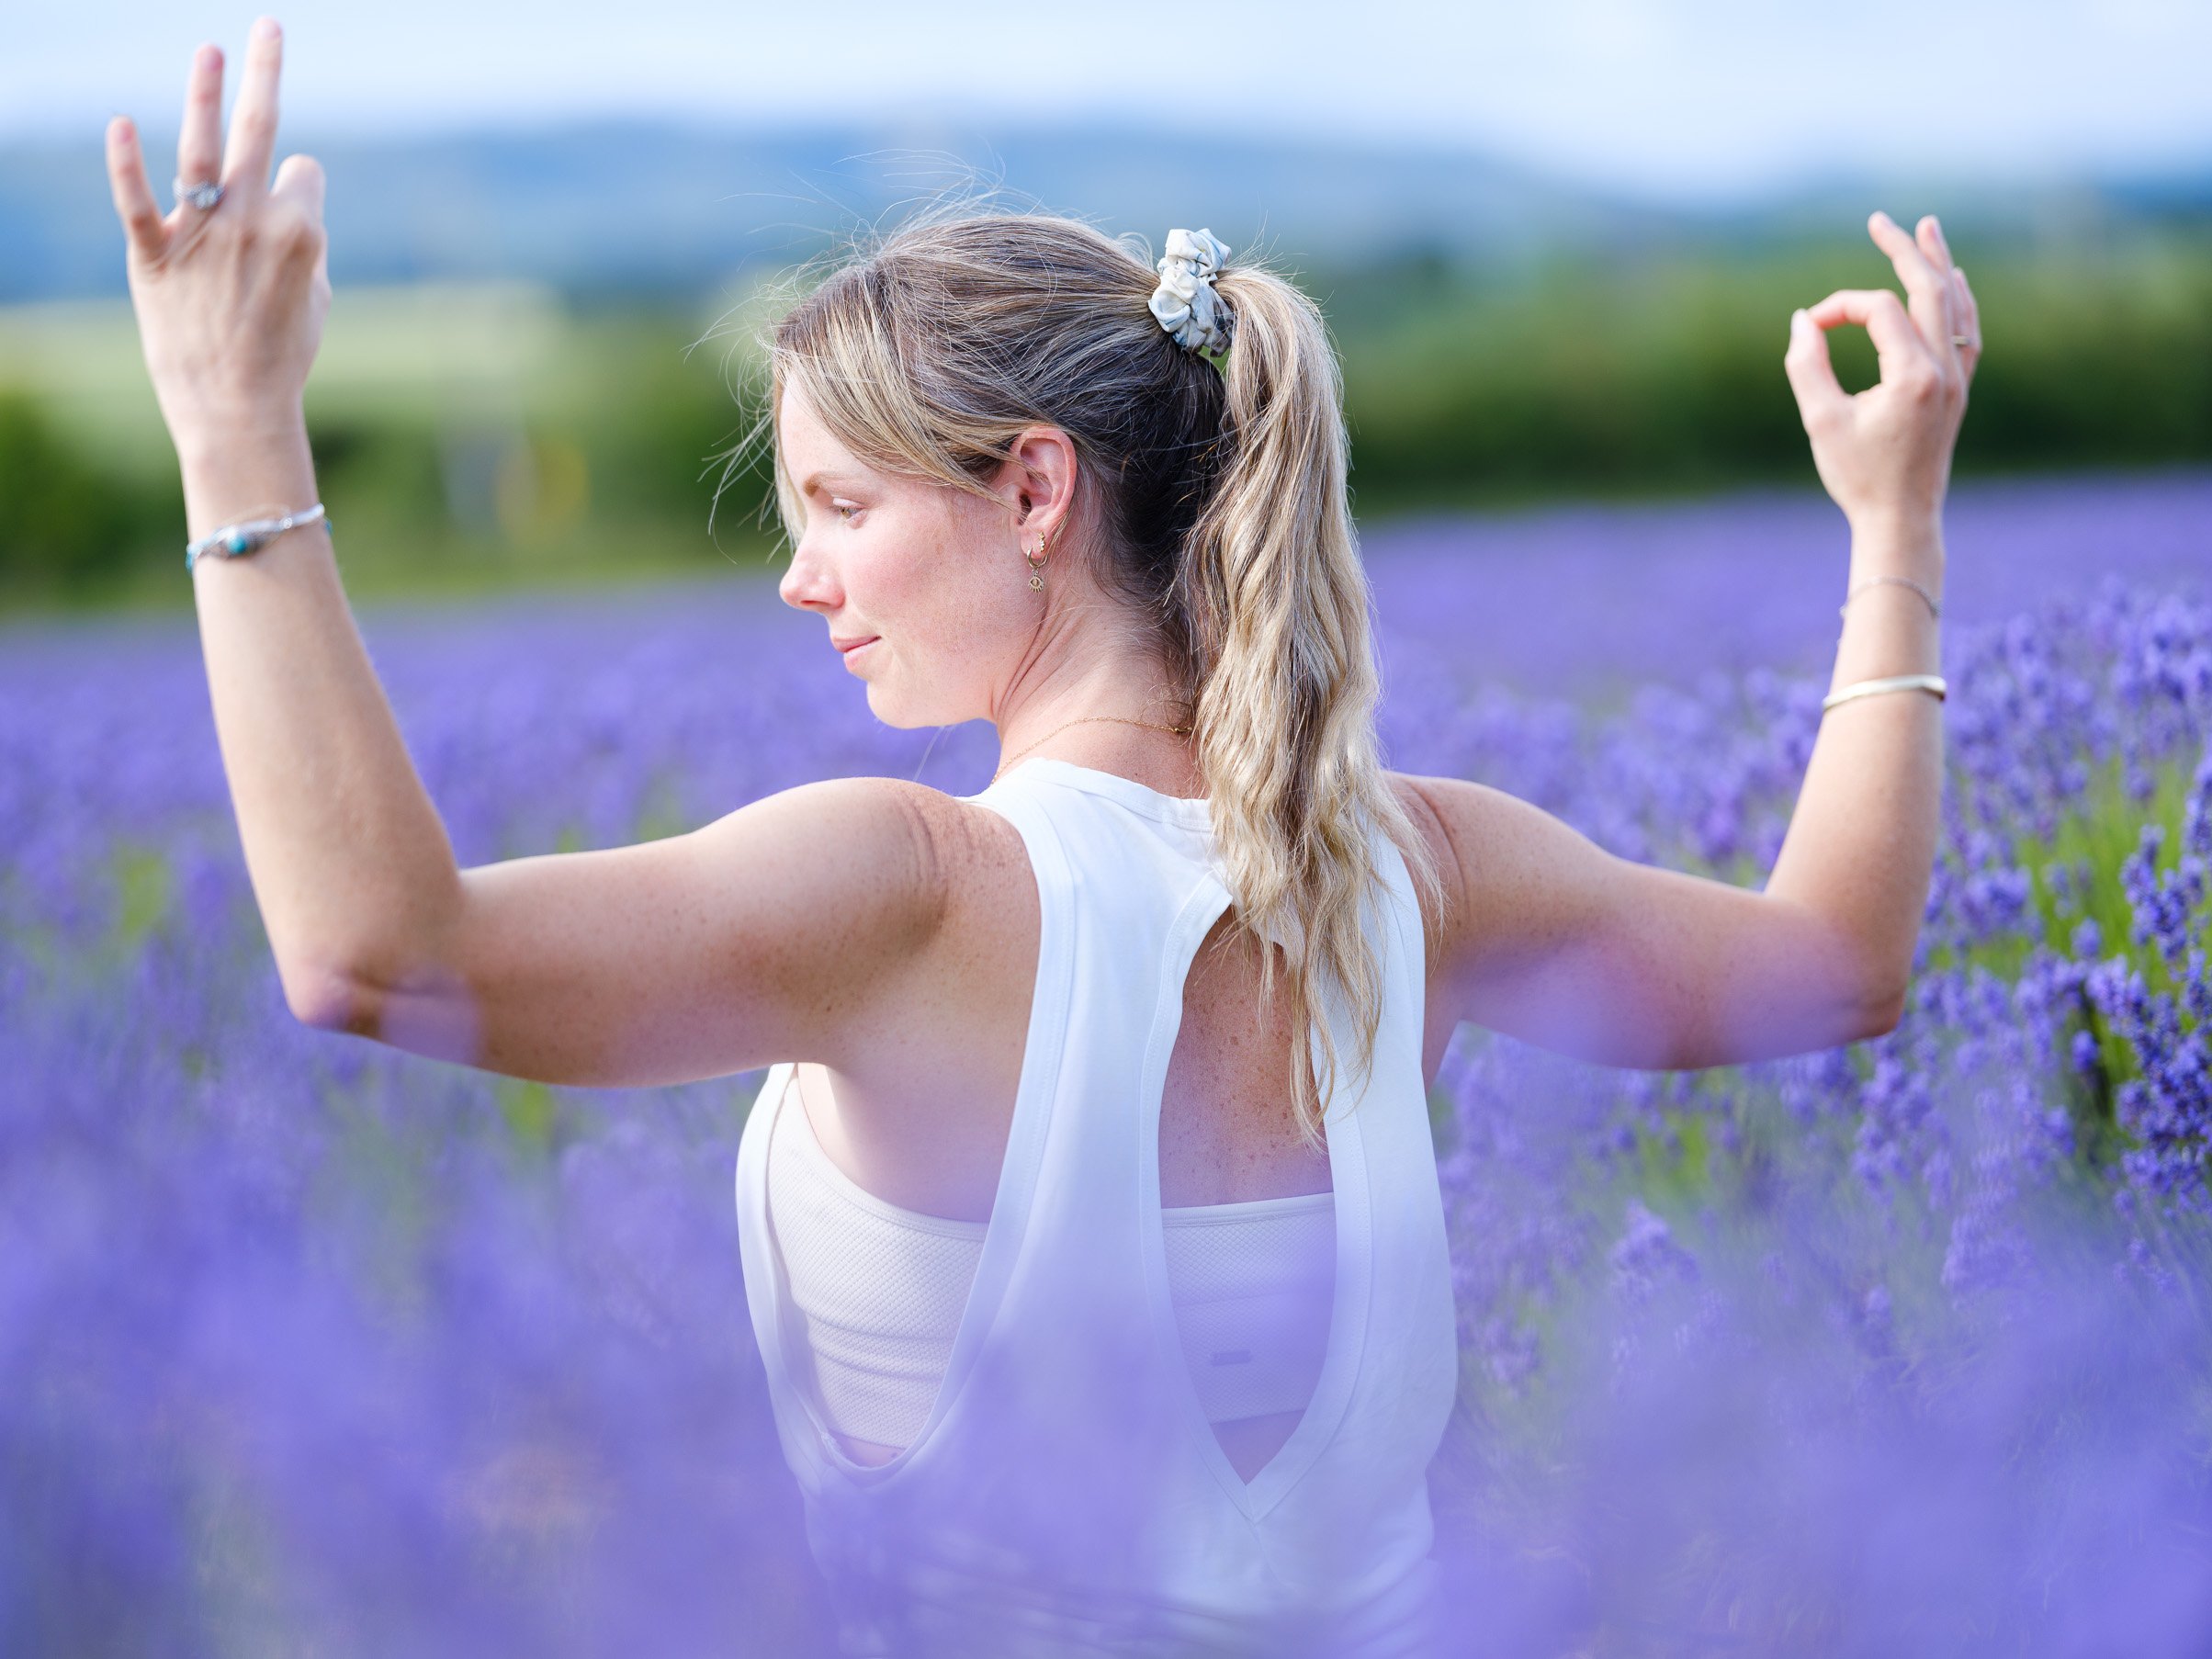
This next image of my yoga instructor shows how quickly the fall off is at f1.2

Krisit from Bend Yoga in Dunedin. Shot @f1.4

Dunedin Wharf @f2.5

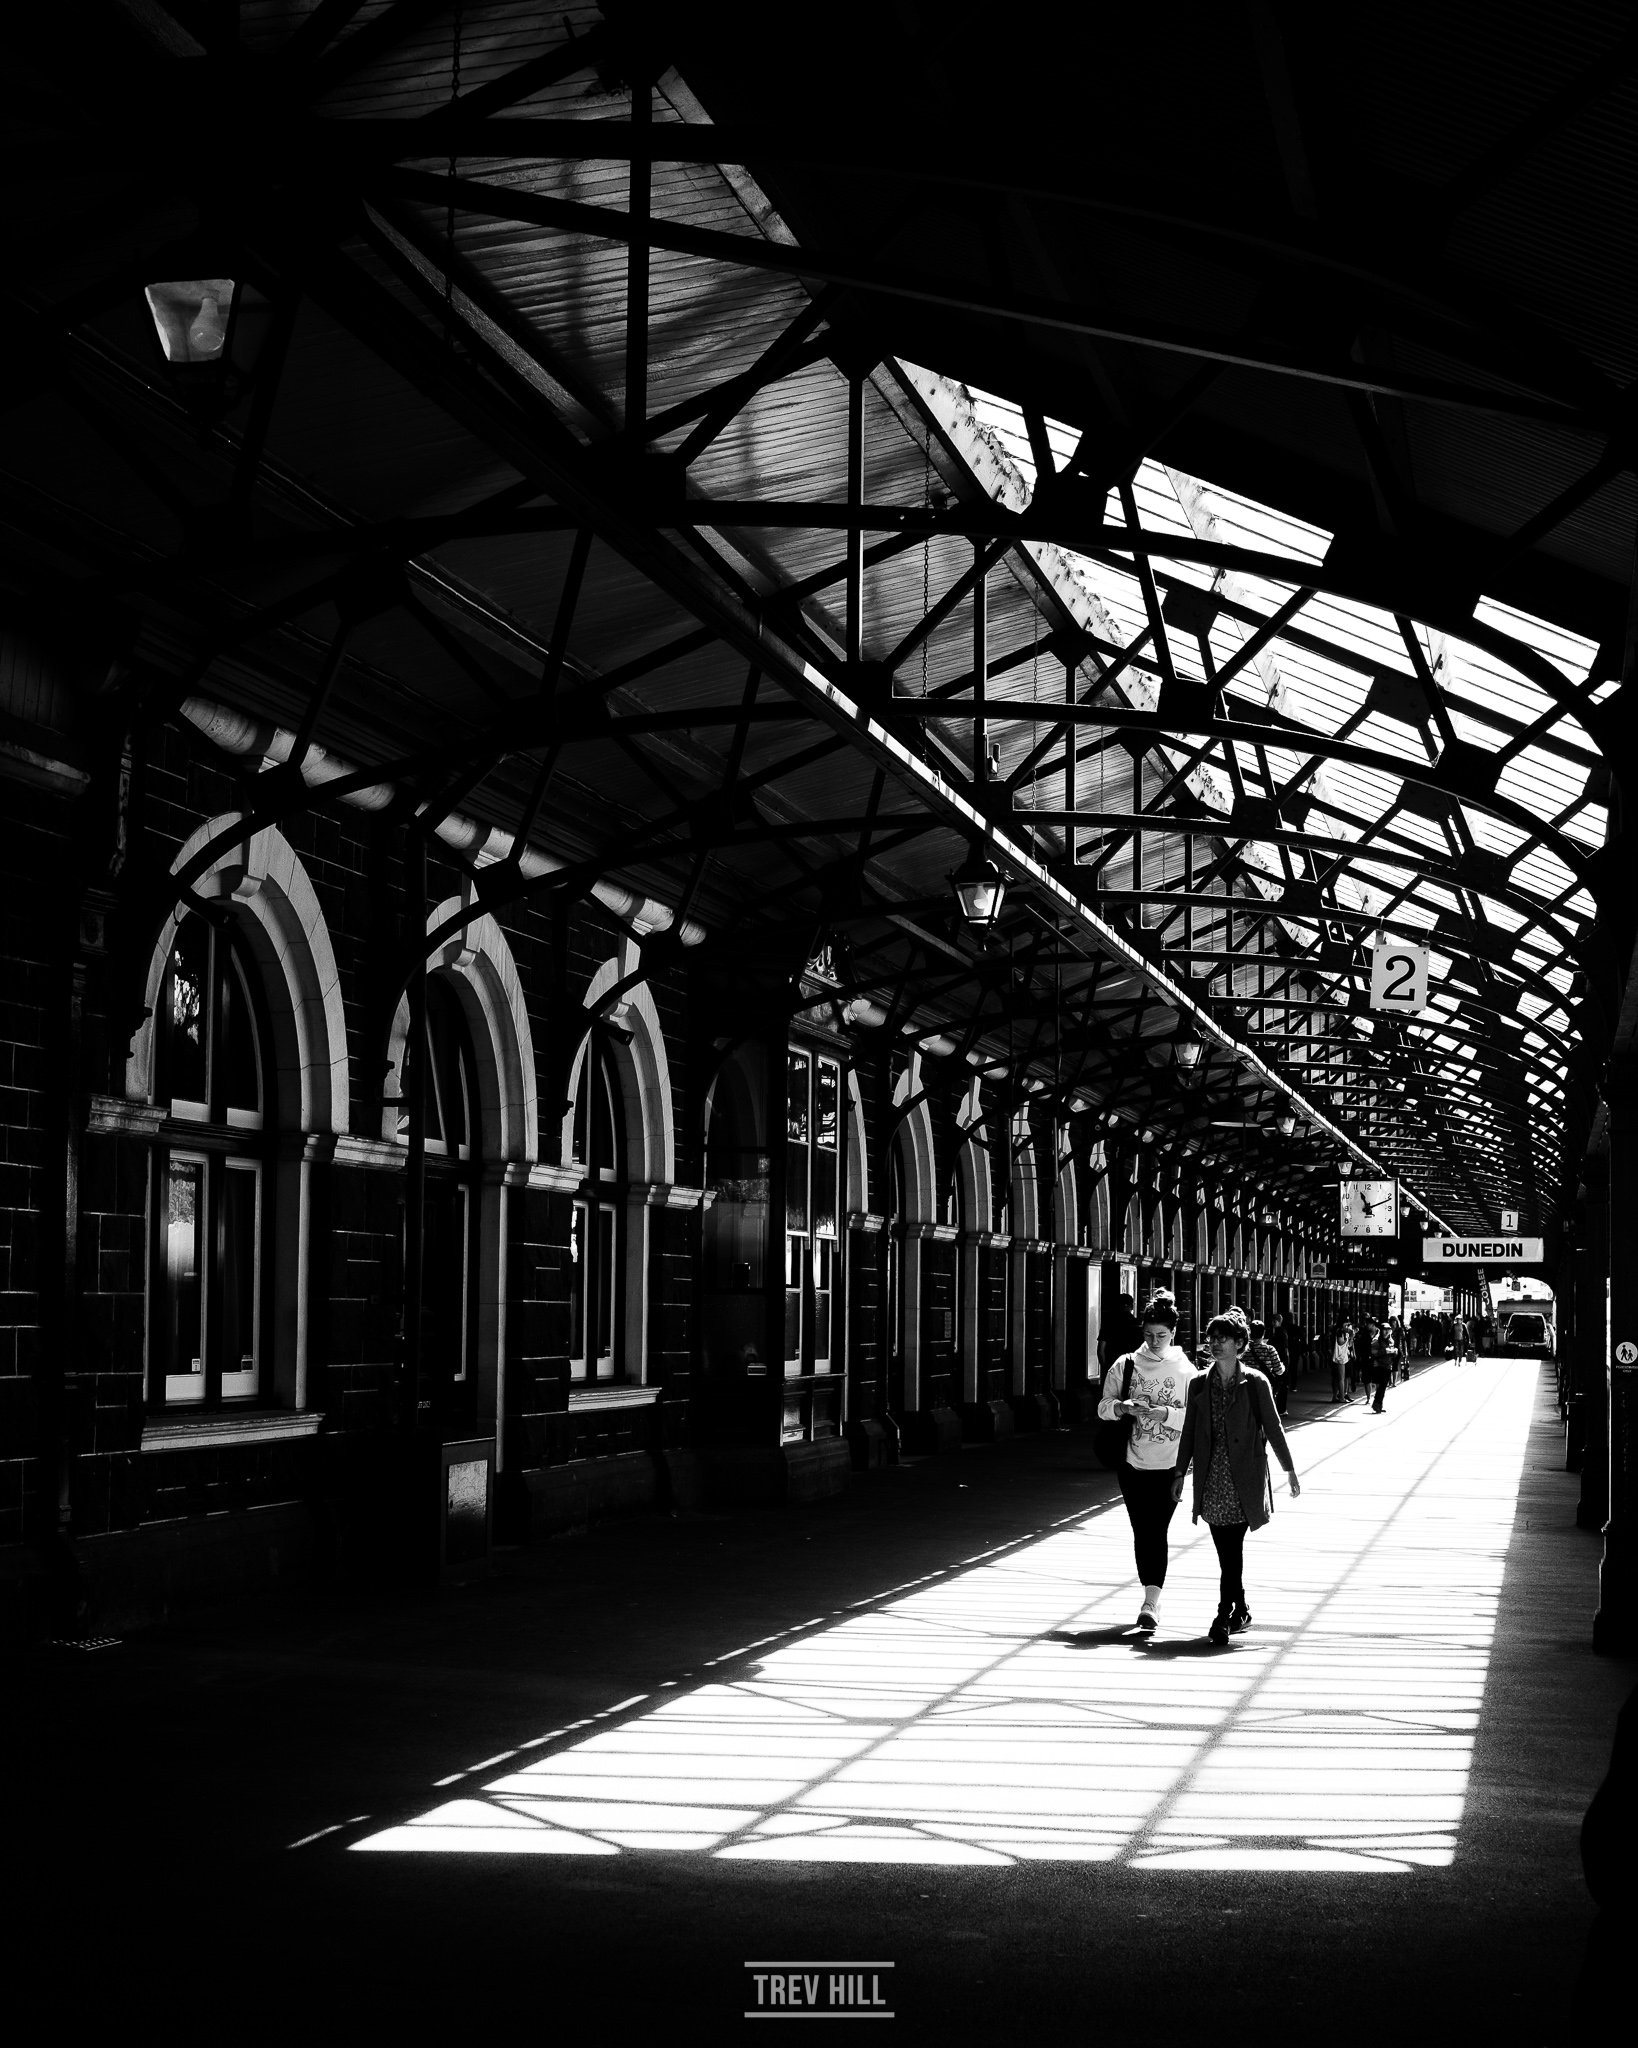
Dunedin Railway Station @f 4.5

I shot the following 3 car cruise images @ f1.2. and used Classic Chrome for creating a more nostalgic vibe to the images. One point I will make is the warmer cast the lens creates on images and something to be aware of when using both native Fuji glass and the Viltrox together.

A different car show, but still an easy pic with the Viltrox 27mm F1.2

In the image below I photographed an event at a historic venue in Dunedin. The light was really challenging in the space, but opening up the aperture to f1.2 meant I could take an image at about 1/50th of a second at ISO 200.

Olveston House - 80th birthday celebration.

Another yoga image, plenty of subject separation for my taste at F1.2.

Yoga pose.

Cafe across the road from Otago University. XT5 jpg with chroma colour on strong setting.

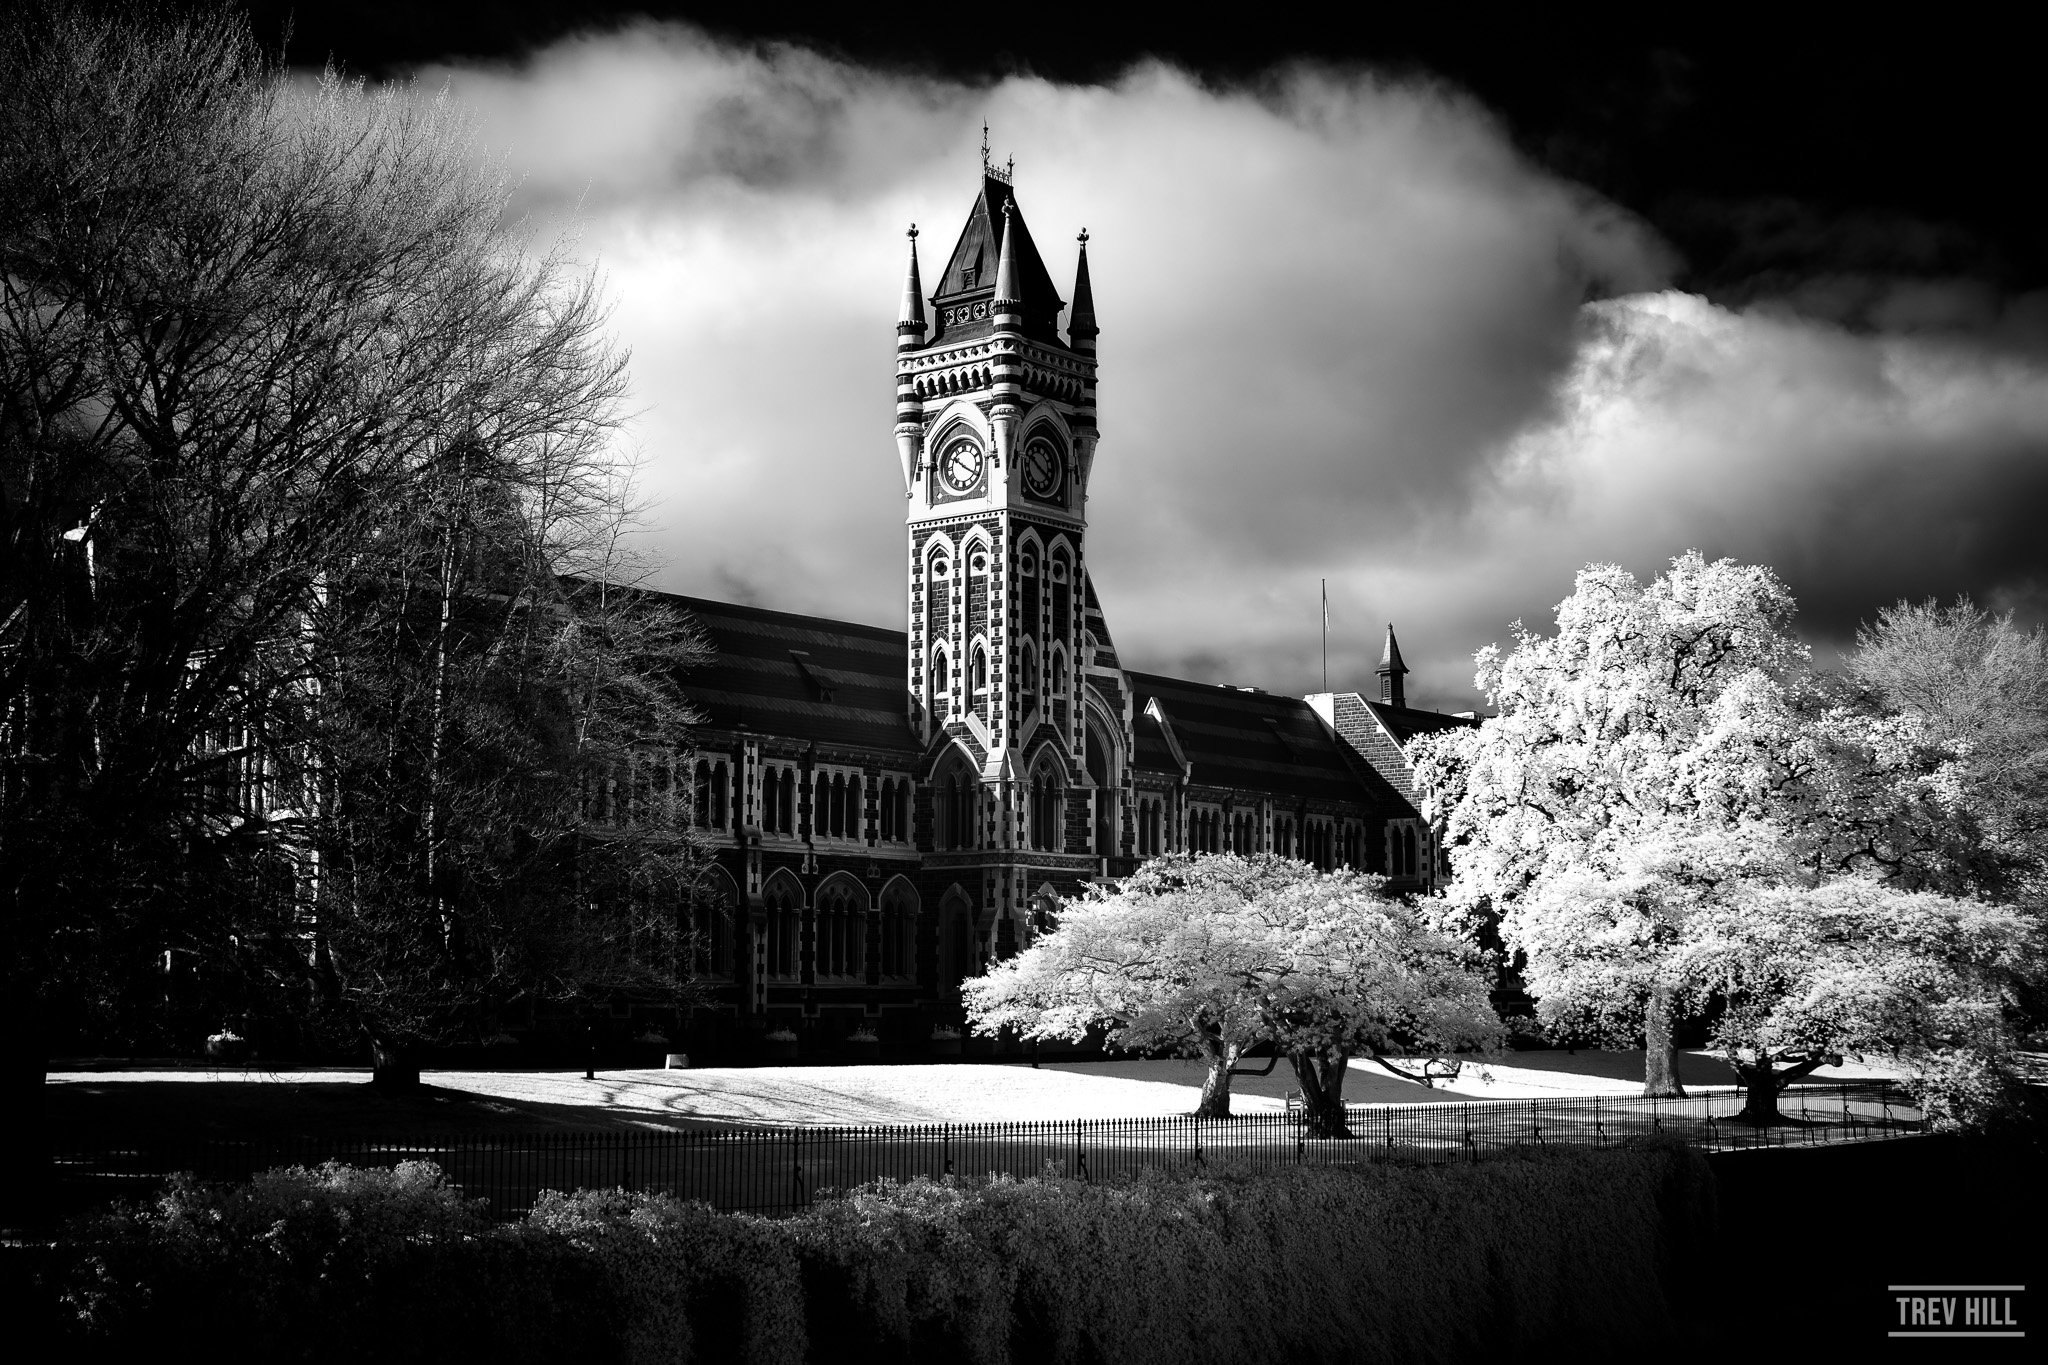
Otago University Clock tower, 2 shot panorama @f5, using the XT5.

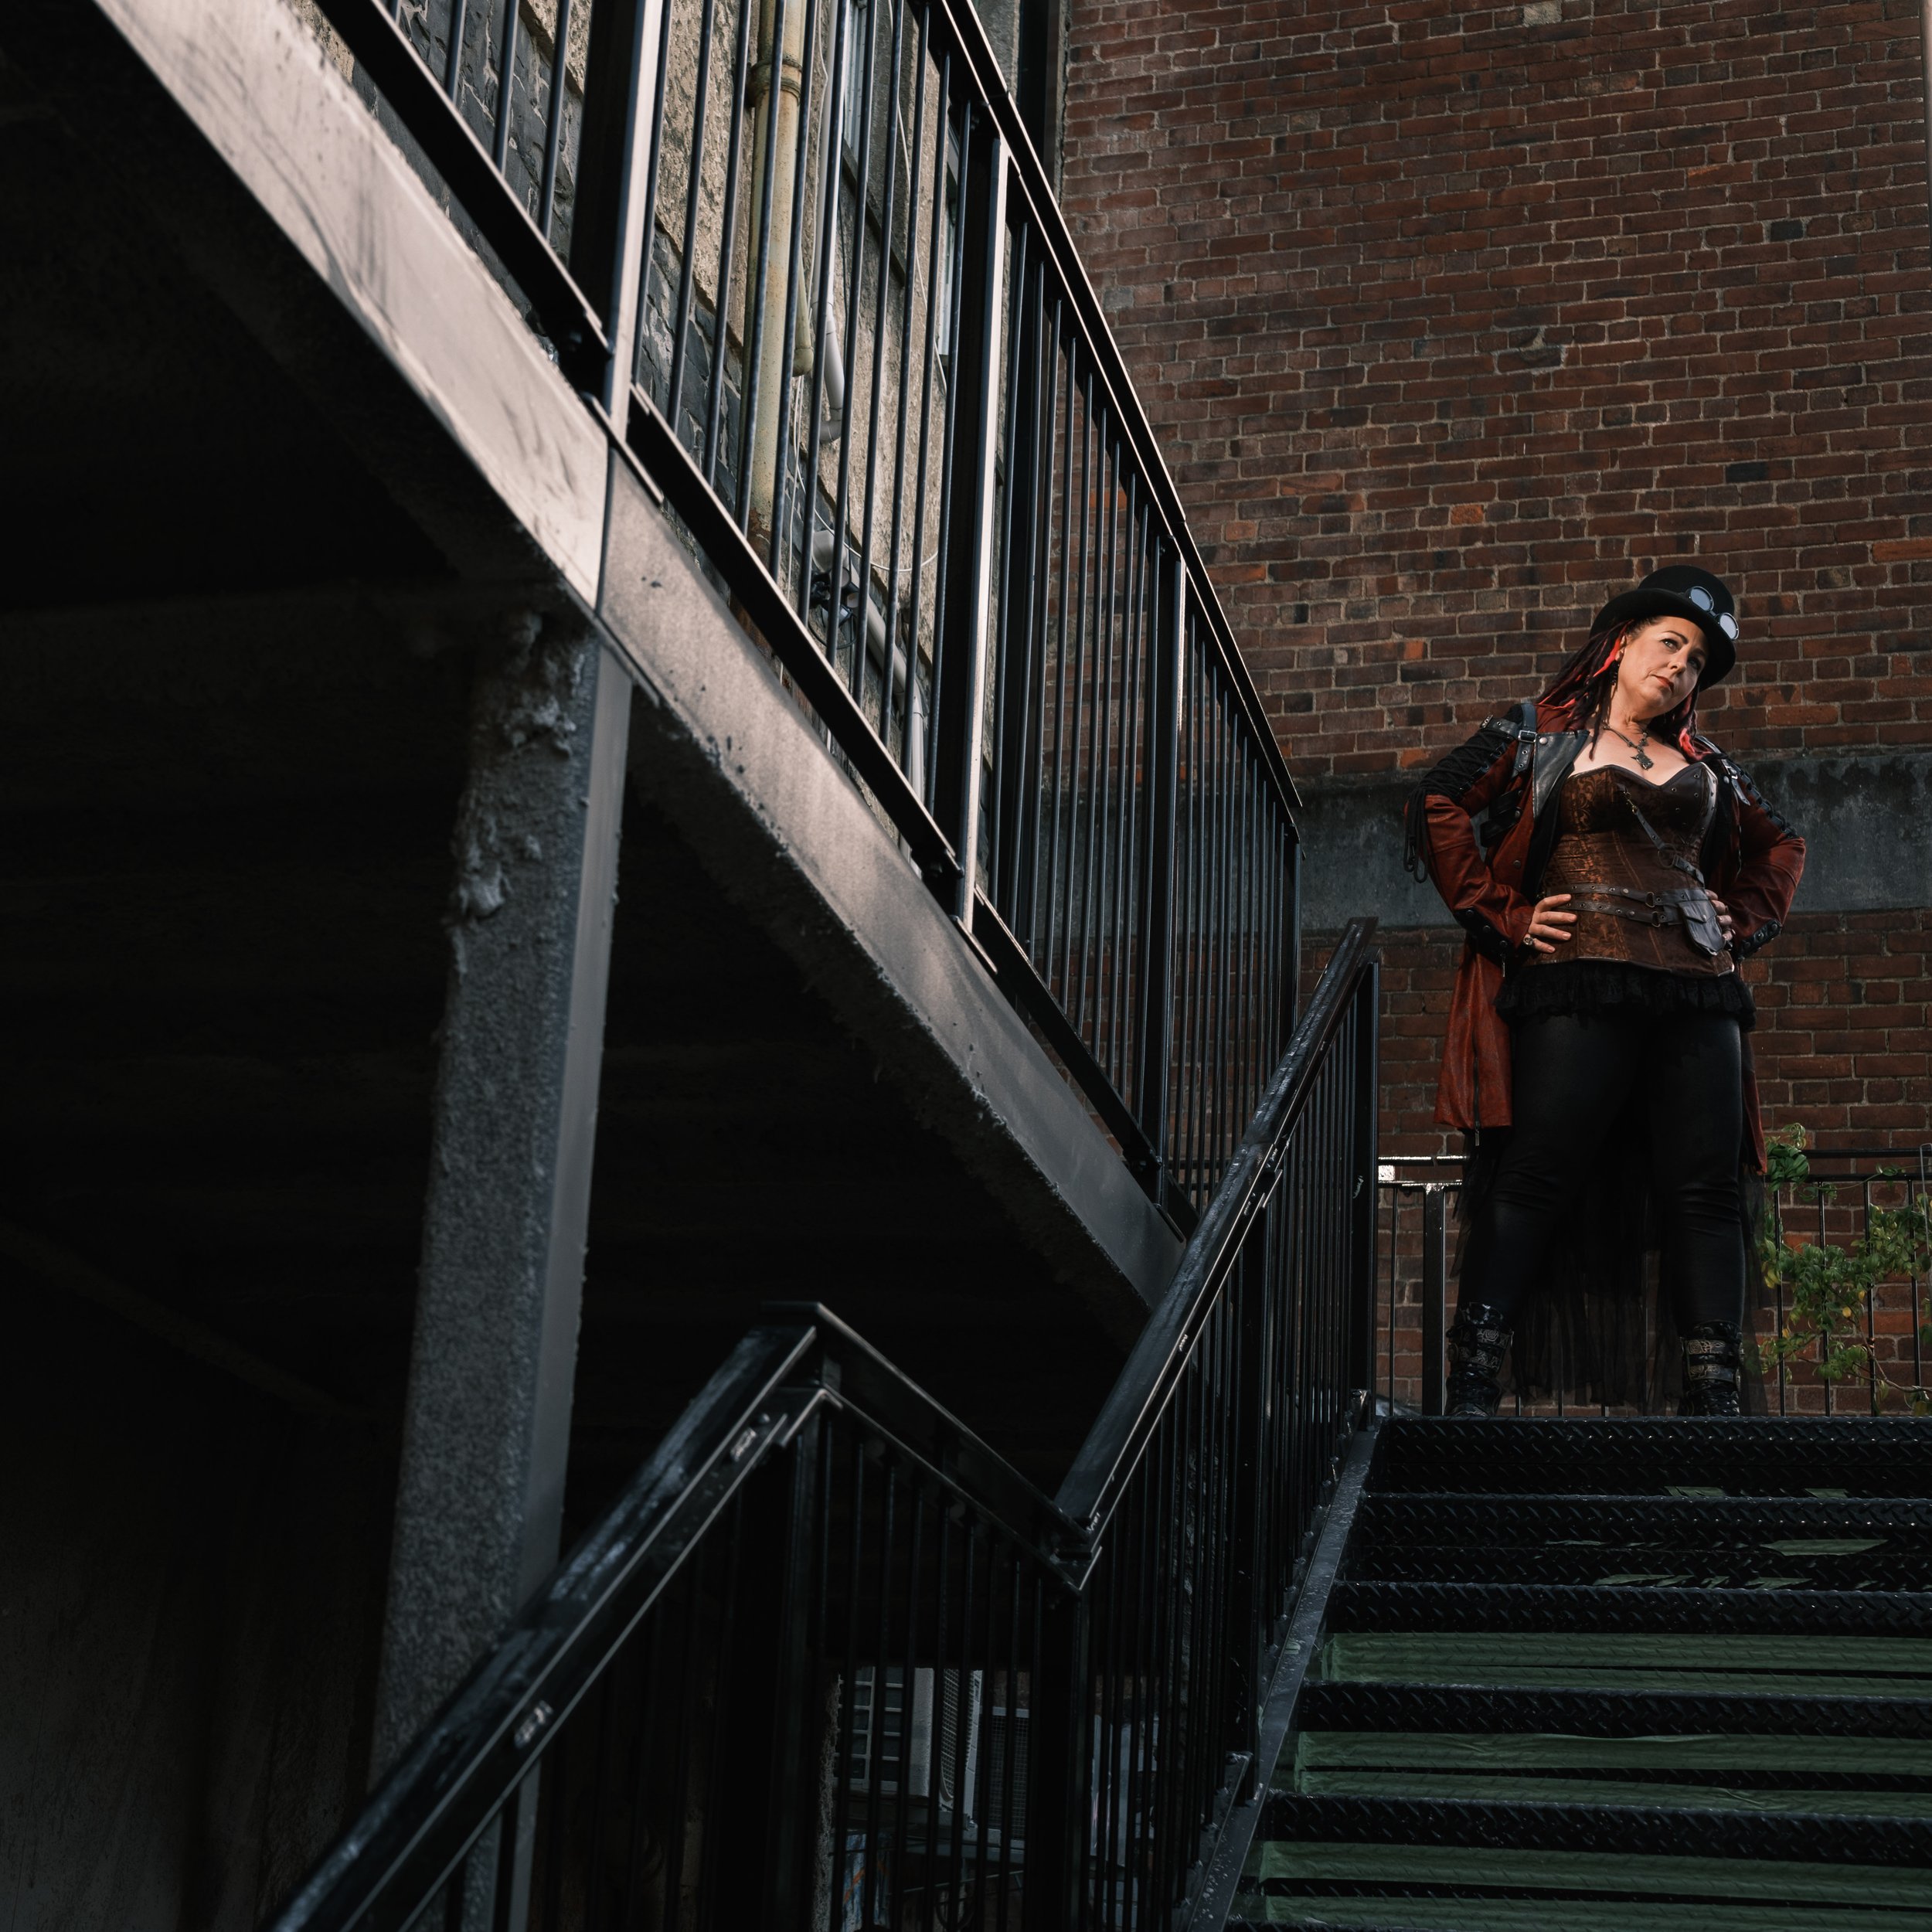
Steampunk shoot.

Steampunk shoot, I have posted other images from this session on a later blog entry, see below in the menu for the blog entry.

Viltrox 27mm 1.2 @f4 Reala Ace film simulation (lightroom versio)

Can the Viltrox 27mm 1.2 resolve the 40mp sensor of Fuji’s latest line of cameras?

The short answer here is yes, hell yes!

Could the Viltrox 27mm f1.2 lens shoot infrared?

I have jumped down the rabbit hole on infrared photography, so a new prime lens begs to be tested. I converted my Fuji XE1 to infrared and have thrown the lens on for testing. The short answer to the question of ‘can you use the lens for infrared photography?’ is yes, but with caveats. I haven’t done thorough testing but I think the Viltrox lens develops a central hotspot maybe around f3.2. While you think this may make it unusable for landscape type images, I found shooting at f2 worked out nicely if you give yourself enough distance from the main subject and let physics do their job with depth of field as demonstrated below.

Otago University Clock Tower.

In this infrared image below of the Otago University school of business, I again shot at f2, and I’m happy to report I am getting no discernable hotspot from the lens on my IR converted Fuji XE1.

Otago University School of Business.

The image below of the stunning Otago Boys High School was a two shot panorama shot @ f2.5

Otago Boys High School shot at f2.5

A wider view of The Otago University clock tower with the brand new maori carving on display in the foreground. Shot @f2

The Dunedin Railway Station. shot at f2.5

Thoughts after 7 months of use

I am really happy with the Viltrox 27mm F1.2, it is sharp wide open, and can be stopped down to F4 to get stellar results. With such a bright aperture this lens is a great addition for event photography like weddings where light can be at a premium. I have shot 2 weddings with it and the low light gathering of f1.2 was greatly appreciated. The lens is excellent for thigh up shots. The only observation I would note is the warm rendition of the lens. In my opinion Fuji lenses display better colour straight out of the camera, but that comes at a premium. The other point worth noting is this lens is a fair chunk of glass and carries a bit of weight. All in all though it’s worthy of adding to your kit. I love my copy and are interested in seeing what comes next from Viltrox.

What lens should Viltrox put on their roadmap in the future?

I love where Viltrox is going, they have a pro series of lenses delivering great results. For me I’d like to see an f1.2 added for the 18mm focal length, maybe f1.4 if the size was too large. A lens like that would be invaluable in tighter spaces often found at events like weddings, with brides getting ready. I believe a lens around the 50mm mark is coming, and that will be fantastic, so all in all it’s hard to complain about the situation, but 18mm (28mm Full Frame equivalent) would be a winner.

Is China the emerging titan of traditional photography?

I am extremely excited to see the emergence of Chinese companies like Viltrox and Godox (I own a few Godox flash units) make waves in the realm of enthusiast and professional photography equipment. The industry can only benefit from a combination of innovation, excellence and keenly priced gear. Viltrox is bringing great value and choice to the Fujifilm brand. But, what next? Yes, continuing to supply X-series users with lens options should be part of Viltrox’s master plan, but I also think they have an opportunity to capture the imagination of Fujifilm GFX users. Case in point, the Mitakon 65mm f1.4 is another Chinese manufactured lens, yes it’s manual focus, but despite that, this lens has developed a cult following among the GFX user community as having a ‘medium format look.’ If Viltrox could make a similiar normal view AF lens with a fast aperture of around f1.4, replicating the mythical ‘medium format look’, in my humble opinion they would make a killing. The user base of GFX is continually growing, so if Viltrox dares to dip it’s toes into the format with AF lenses, having no competition other than Fujifilm, they might well have plenty of customers lining up to buy their product.

So yes, let China become a titan, and let Viltrox continue to satisfy Fujifilm users with interesting and innovative lens options. With China increasingly becoming a strong consumer base for camera sales it makes sense they have companies creating photography products we all want to use.

Does this lens have a glow? The Fujifilm XF35mm F1.4

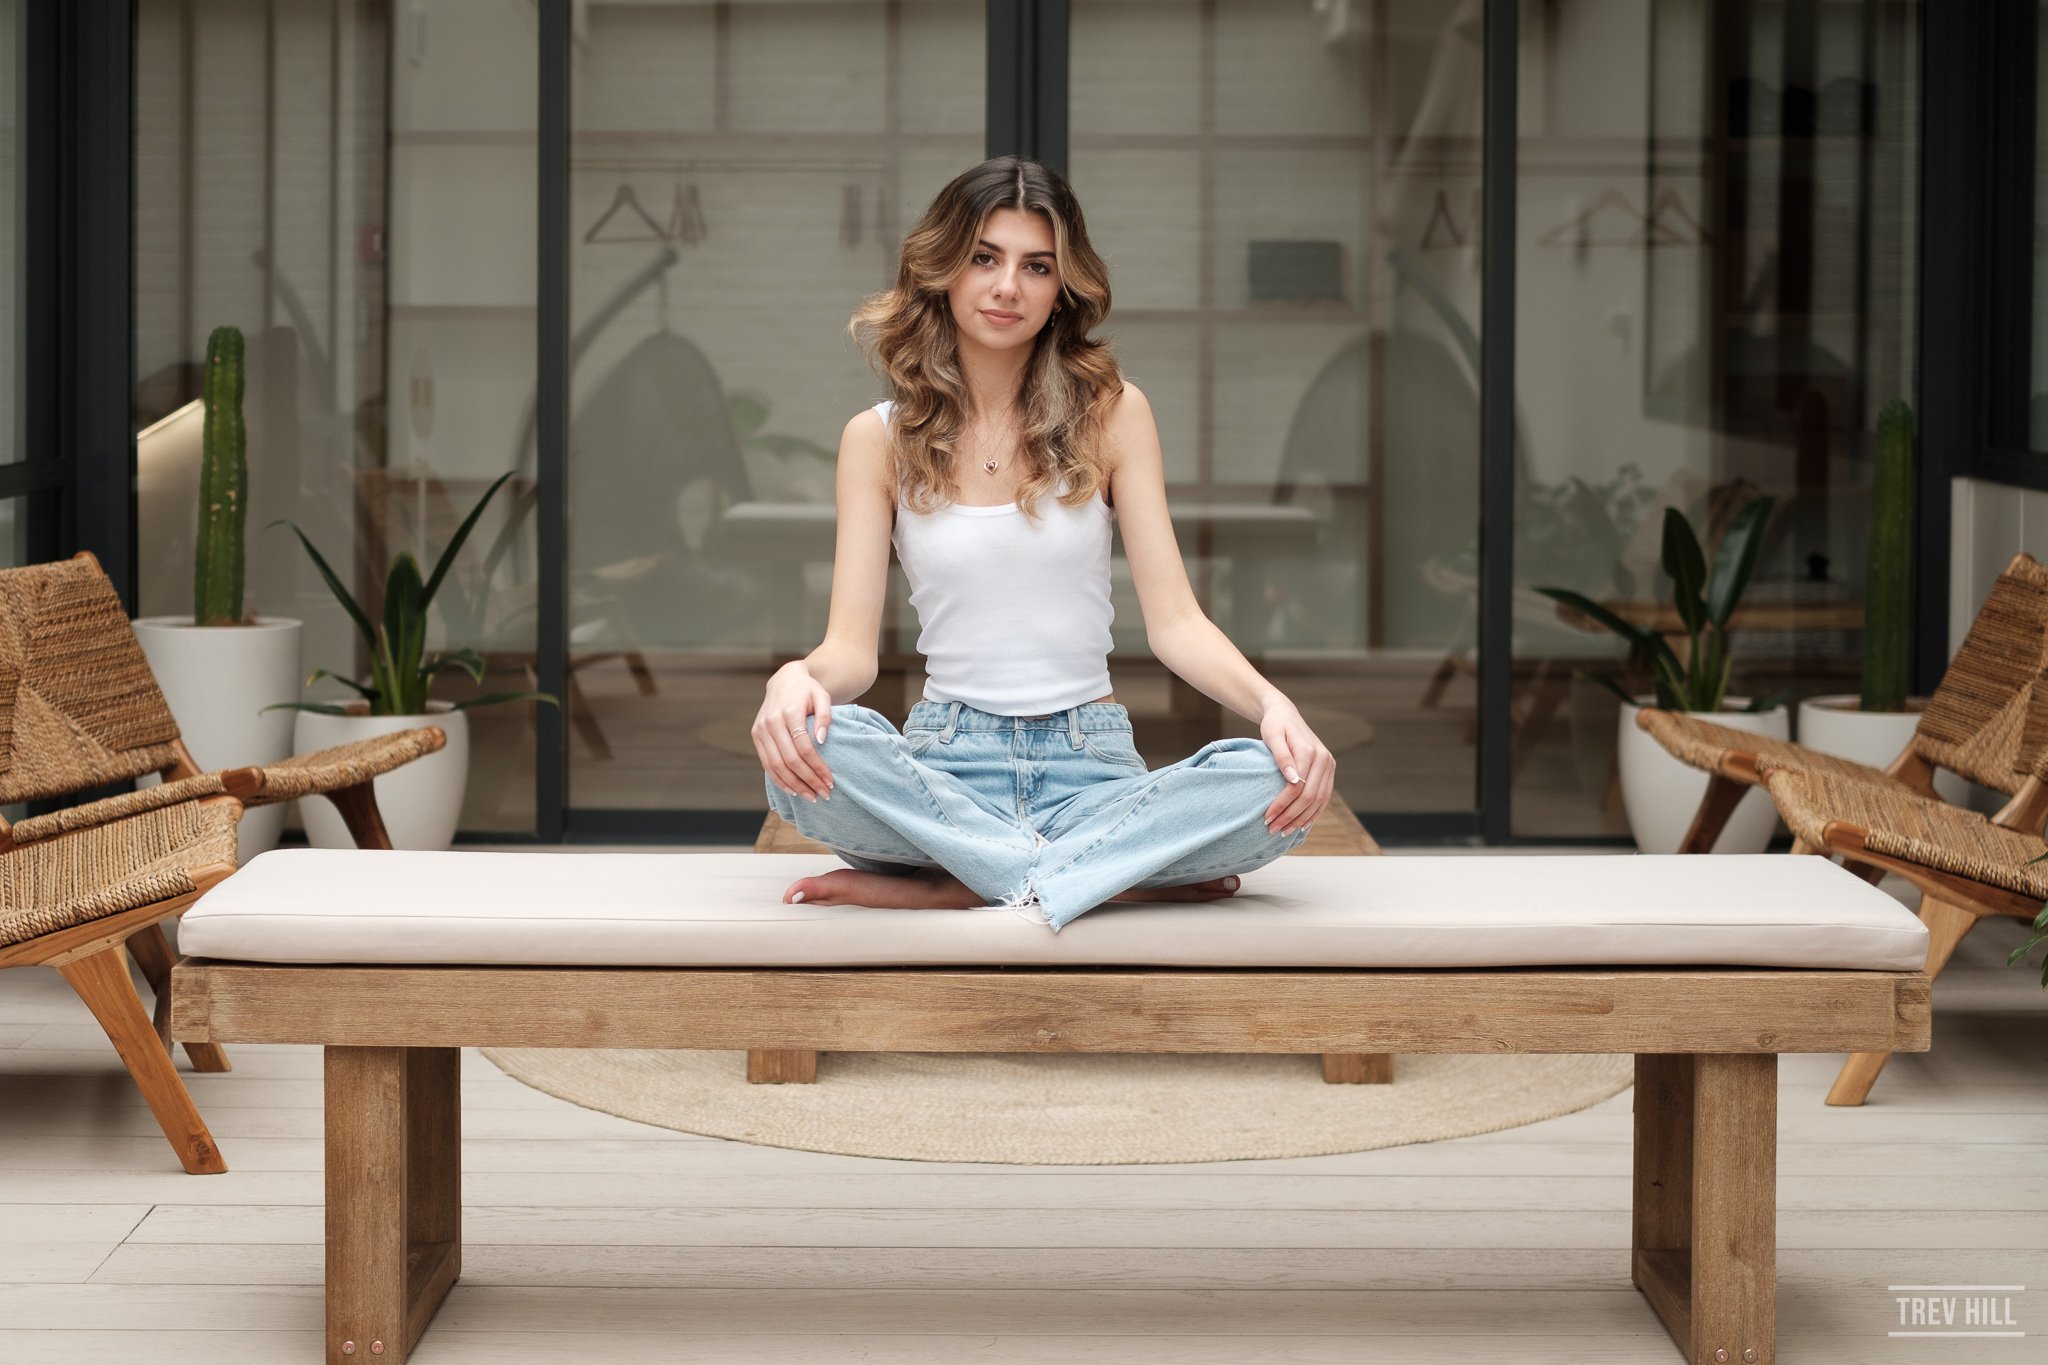
Recently I photographed my teenage daughter Colbie to help build her modelling portfolio. I organised with one of my clients the use of their lovely business interior and coordinated with my girl a simple colour palette to compliment the environment we would use for the imagery.

I use both Fujifilm GFX and the Fujifilm X systems, but decided to roll with the X system and a combination of the XF 35mm 1.4 and XF 50 - 140mm 2.8 lenses.

The first scene we worked used a fabulous hanging chair for Colbie to lounge in. I used the XF 35mm here at f1.8 as the chair was ever so slightly rocking and wanted a faster shutter speed to keep subject sharpness.

Fujifilm XF 35mm 1.4 @ f1.8, Classic Chrome.
So I’m looking at these images on the back of my camera and thinking this looks really nice, but right at this moment I wasn’t thinking about any special ‘glow’ quality. The next scene within the space was the back wall with a georgeous reclining couch, lovely palm pot plant, and coffee table stump. Colbie did a great job with her pose, and the images on the back of the camera looked fab to me, but I still wasn’t getting a ‘glow’ vibe.

Fufifilm XF 35mm 1.4 @ f2, Classic Chrome.

The next shot is based on a yoga pose, and out of habit I had the 35mm at f2, as that’s where I usually set the aperture, again not really thinking of any special glow exhibited by the image here, as this is more of a pulled back environmental image.

Fujifilm XF 35mm 1.4 @ f2. Classic Chrome.

But then as I took more tightly cropped images, here is where I started to notice a lovely softness to my daughters skin, dare I say it, a hint of a glow. The first image is in Classic Chrome, so a little desaturated, but in the following 2 images I used the ProNeg-Hi simulation and the warmer skin tones I think exude a bit of a glow.

Fujifilm XF 35mm 1.4 @ f1.8

Fujifilm XF 35mm 1.4 @ f1.8, Pro-Neg Hi

Fujifilm XF 35mm 1.4 @ f2, Pro-Neg Hi

So right about now, you are either agreeing with me or laughing at me, as you can or can’t see a glow… You know what, you might be right and I might just be fooling myself. However, let’s finish off the shoot.

Next I stood Colbie up and took out the XF 50-140mm f2.8. Shooting wide open I took a series of images, again they look great, but looking at them now, I don’t think they have the same ‘glow.’

Fujifilm XF 50-140mm, @ f2.8, Classic Chrome

Fujifilm XF 50-140mm @f2.8, Classic Chrome

Back with the 35mm on the camera I took some waist high up shots, but from this sort of distance I didn’t really see anything other than good natural light on my subject.

Fujifilm XF 35mm 1.4 @ f1.8, Classic Chrome

In the next image I threw back on the XF 50-140mm and now looking at this image of my daughter, am I seeing a glow on the XF 50-140mm lens? Maybe it’s just the lovely natural light we are using. Now I’m confused, everything is starting to glow.

Fujifilm XF 50-140mm f2.8 @3.2, Classic Chrome

This time we moved locations to a space right next to this room, it allowed all the natural light from this space to filter in from a large side window above. Using the XF 35mm I utilised the lovely couch for a picture with Colbie.

Fujifilm XF 35mm 1.4 @ f2, Classic Chrome

Fujifilm XF 50-140mm @ f2.8, Classic Chrome

One last photo above using the XF 50-140mm. I look back on these images and are completely undecided on whether I am just seeing things or there is really a glow to this lens, either way, the Fujifilm XF 35mm 1.4 is a gem for stationery subject photography, and will always have a place in my tool bag.

Photographer: Trev Hil - Model: Colbie Hil. - Location: Well + Being, Dunedin.

Learning Infrared Black and White Photography

Introduction

I was watching Youtube a few months ago when I stumbled onto a vlog about black and white infrared photography. It was a revelation. Photography in full sunshine, in the middle of the day, with stunning results. It sounded like madness but the results I was seeing were stunning. After diving into a rabbit hole on the internet about infrared, I started to think about how infrared would benefit my photography.

  1. Hiking during the day in harsh light isn’t usually an opportunity for photography, now with infrared those conditions are perfect. My quest to document New Zealand’s stunning great walks could be enhanced by bringing both a normal and infrared camera body on trips, carrying one set of lenses for both.

  2. Black and white photography is a non-event in my landscape portfolio and shop. Documenting images in mono could bring a new customer to my online store. www.trevhillshop.nz

  3. Reshooting my favourite honeypot spots around Otago completely reinvigorates my landscape photography.

  4. Getting outdoors in summer is healthy and good exercise for the mind and body.

Camera Conversion or buy a filter?

The quick and fast solution to starting in infrared photography is to buy a simple screw on filter for the front of your lens. The big disadvantage you have with this method is the filter acts like a 10 stop ND and long exposures are needed to get a decent exposure. The main attraction for me with infrared is how the filter renders foliage and grass. I wanted to extract as much sharpness of leaves as I could, so fast shutter speeds are essential. Therefore, the only option was to get my camera converted. I had an old Fujifilm X-E1 camera gathering dust so it was an obvious choice for a conversion job.

Selecting a camera conversion service

There are a few places around the world who convert cameras to infrared. I settled on LifePixel in the USA to do the job for me. I was only interested in black and white photography so I picked the 830nm filter. Sending from New Zealand is a bit of a mission, but LifePixel did a great job, and they even offer a free zoom tutorial to get you up and running. I skipped on the tutorial as making mistakes is the only way I learn, but I thought it was a nice bonus to the service.

My first week of infrared photography

Now I had my camera back it was time to start taking pictures and learn this medium. I figure the best plan of attack for sharing what I have learned so far is to critique my images.

Tunnel beach, Dunedin, NZ. With this image I like the cliffs and water, but the cloud above the cliff is blending too much into the white grass. A cleaner blue sky would have been more dynamic. Lesson 1: Watch what is happening in the sky.

Cabbage trees, Dunedin, NZ. This image is a great example of why you should get a camera converted to infrared as opposed to using an external filter. Cabbage tree leaves blow around even in a gentle breeze. If I had an external filter on my lens this plant would have been a blurry mess due to the exposure time needed. But, with a converted camera I was able to use a fast shutter speed to freeze the action of the leaves. Lesson 2: I really like a minimal look with infrared. A simple composition is easier for the eyes to decipher. Also, the sun was directly behind me on this image and it resulted in very deep tones on the ocean and sky.

The Turf, Dunedin, NZ. The ability to create contrasty black and white images has my head spinning, exploring lines and shapes as much as a subject. Lesson 3: Embrace the blacks and accentuate the whites.

Forsyth Barr Stadium, Dunedin, NZ. I really enjoy how the sunshine is creating pockets of white in this image on the grass, foliage and lichen. Lesson 4: Point the camera at everything, you just don’t know how it is going to look.

Centre Rd, Otago Peninsula, Dunedin, NZ. I like the horses grazing on farmland, but the sky in this image could have been epic if I had waited a little longer for the clouds to drift across. i feel the grass is a little flat as I didn’t have a solid foreground element. So all in all, not my best work but a good learning image. In the next photo I address this issue.

Highcliff Rd, viewpoint, Otago Peninsula, Dunedin, NZ. A big improvement from the image above, as I included a strong foreground element (the fence) leading to the trees. I noticed clouds drifting over the sun, so, I waited for the dappled light to create interesting shadows on the white grass before I took the shot. If I had taken the image without the cloud shadows the grass would have had no texture and contrast. Lesson 5: Clouds can be helpful in creating depth on ‘white’ foreground grass.

Henley-Berwick Road, Dunedin, NZ. This image took advantage of the morning fog cloaking the Maungatua range in the background. Lesson 6: Manmade objects often go dark in infrared, so make excellent leading lines as they dissect the ‘white’ infrared grass and foliage.

Henley Berwick Road stream, Dunedin NZ. I was nearly pointing the camera toward the sun in this image. I’m not sure if that was a good move, but I managed to extract plenty of contrast in post. I am yet to figure out if the histogram in the camera is of any help, or if I am best to eyeball exposure through the viewfinder. This is an evolving tip, but I am leaning toward exposing to what I see in the viewfinder.

Hut at Waipori water station, Dunedin, NZ. Here the infrared effect is very obvious, but the more I look at this, the more it looks like a hoar frost in winter.

Picnic table at Lake Waihola, Dunedin, NZ This image is really surreal, the almost glowing white willow foliage is nuts. Lesson 7: I got low here to try and separate the white foliage of the willow branches with the dark sky. Overall this image shows excellent separation of elements via black and white tones.

Titri creek track, Lake Waihola. I’m so glad I got my camera converted, just so i can take loads of pictures of cabbage trees. I love them, they look like something out of a Dr Suess illustration. Tip 8: Embrace the surreal.

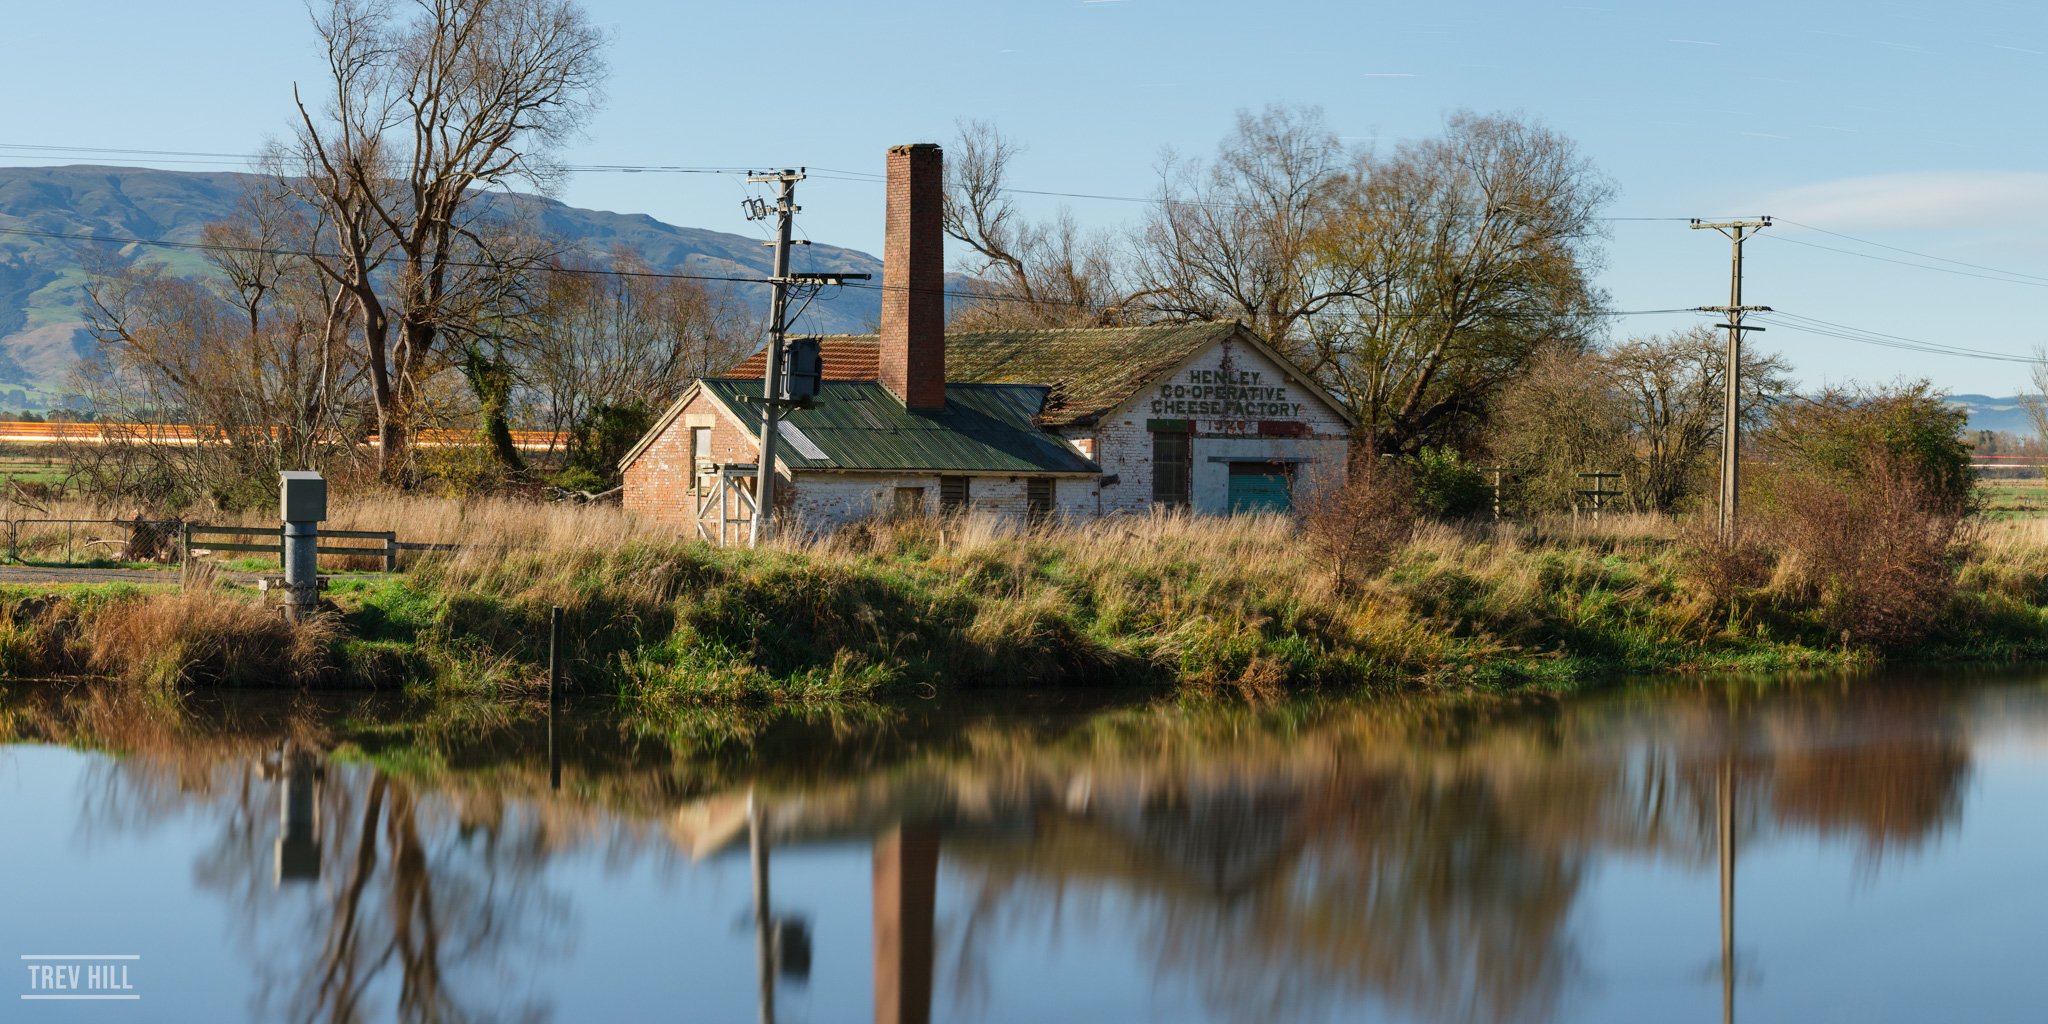
Henley Co-Operative Chees Factory, Dunedin, NZ. Not all infrared images need to scream I am infrared. In this shot the infrared luminescence of the foliage helped sculpt out highlights around the central subject of the cheese factory bathed in sunlight. Lesson 9: Embrace subtlety as well as surreal.

A week of learning

I have to say my first week of Infrared photography was a real joy. I feel like I am gathering plenty of experience to help refine my approach to the genre. When the next sunny day happens in Dunedin, I will be out taking images. If you would like to see more of my infrared work in future, I have started a Vero account @trevhill. The platforms dark display layout is perfect for black and white photography. I look forward to catching up with you there.

Photographing The Milford Track

The Milford track is the most popular of all New Zealand’s great walks. A four day hike through pristine rain forest in the heart of Fiordland. I was excited about the adventure and potential for photo opportunities. About a month earlier I had bought a new camera, the Fujifilm GFX50sii with the bundled GF 35-70mm zoom lens, and decided to take the combo on the walk with me. My bush walk adventures have taught me not to expect the moon from the images I take. As landscape photographers know, good light on subjects is rare and generally requires repeat visits to specific locations to get a good shot, with multi day hikes, you are never in one place long, except at the hut/camp locations. This hike deep into the lush rainforest of Fiordland, was a journey into the unknown. I decided to leave my tripod at home and handhold all my shots.

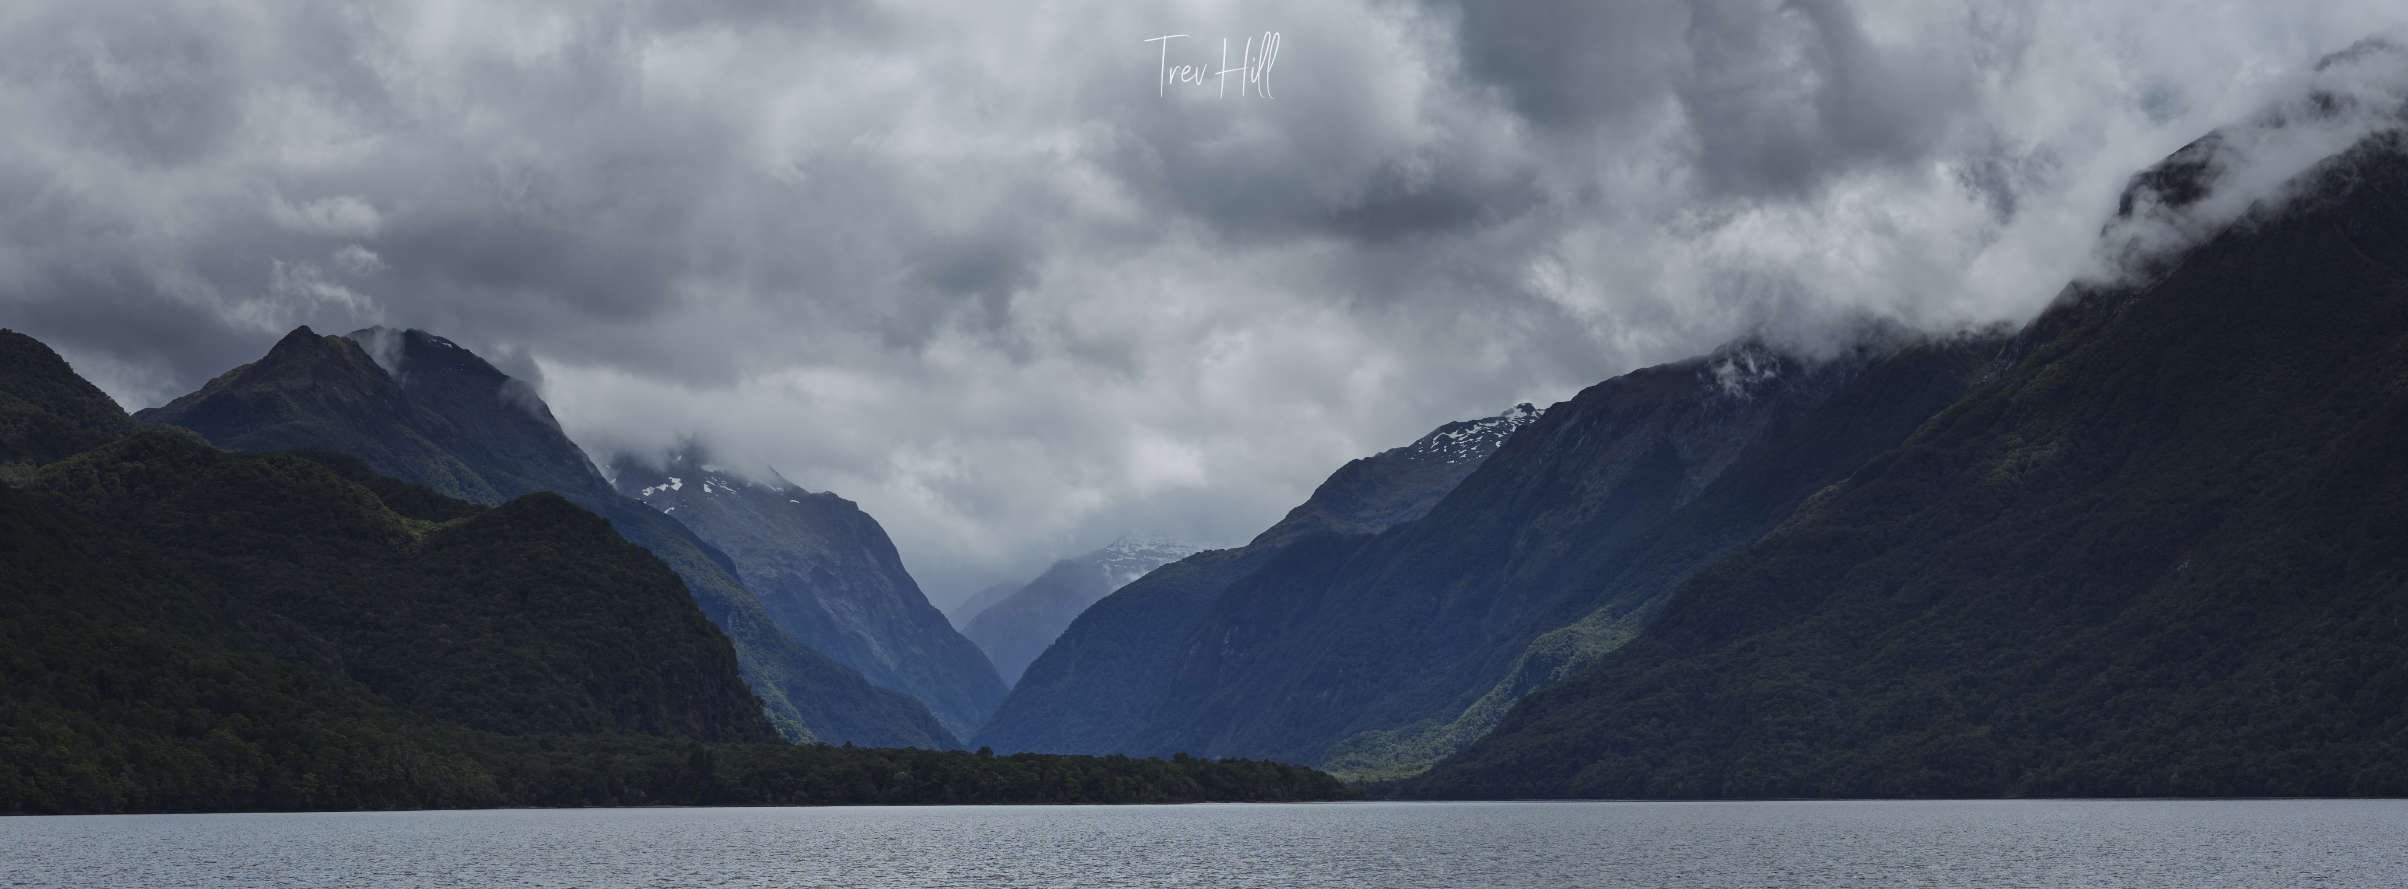
DAY 1. Access to the Milford track is via a ferry from Te Anau Downs. The boat has a top deck so you get a great view of the huge granite mountains you will be walking under in the rain forest. My choice of lens was equivalent to 28-55mm on a full frame camera, so just a standard view. I would have loved a 70-200mm type lens for a tighter crop, but I made do with the old Fujifilm X-pan crop mode built into the camera. Not ideal, but still got an image.

The hike from the ferry jetty to Clinton hut where you stay the night is only about a couple of hours, if that. The bush on this part of the walk is really pretty, with lots of vibrant sphagnum moss covering the trees. So do stop and take pictures.

Day 1 and part of 2 is the best opportunity to photograph the Sphagnum moss. As the hike slowly climbs in altitude on day 2 the rainforest environment changes as well, so less of the lush green views, make the most of it on day 1.

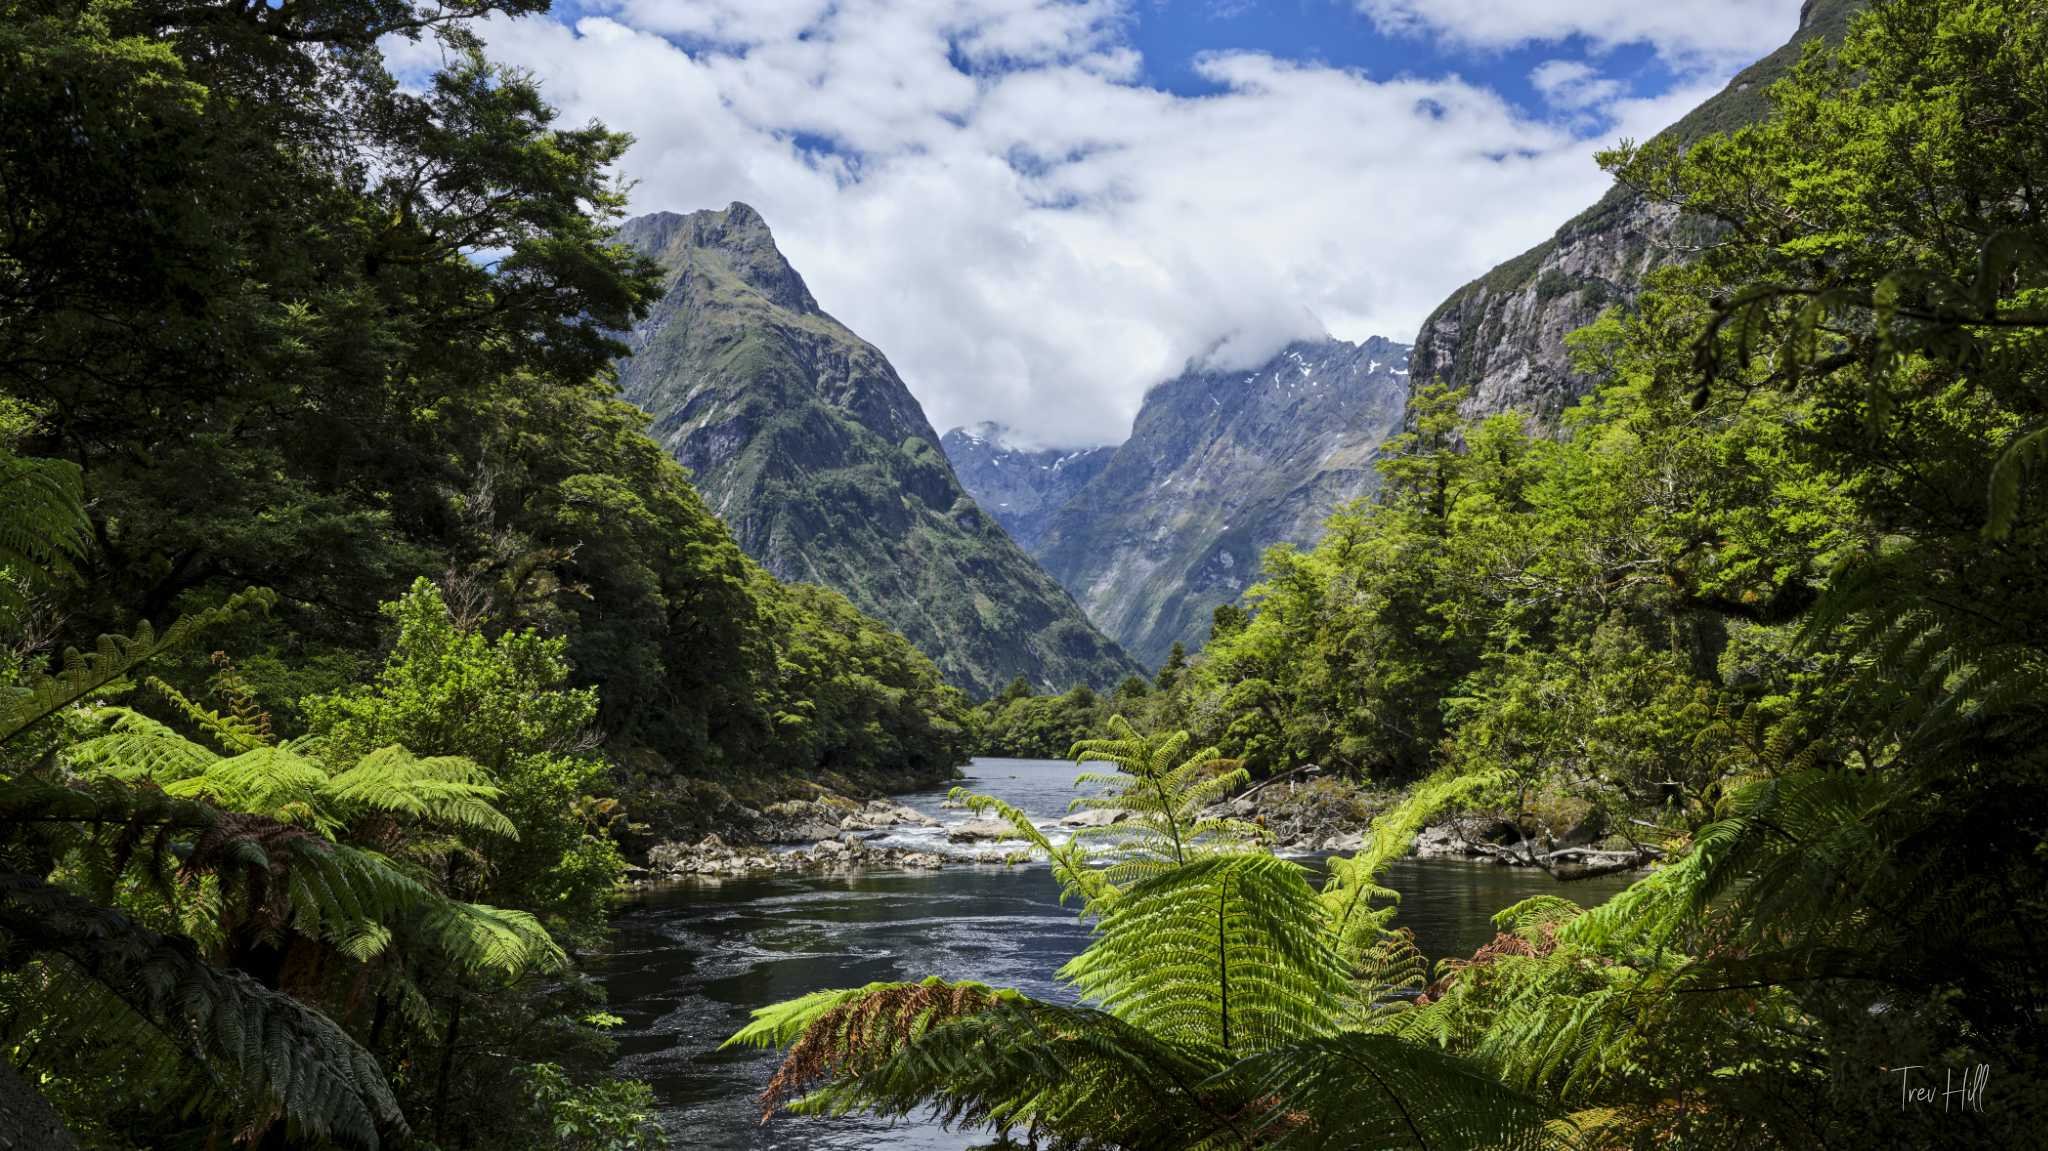
Clinton hut is an overnight stop and from the helipad you have one of the hikes best photogenic views. A stunning vista of granite cliffs with rainforest in the foreground. I took off early in the morning, but this could also be a great sunrise photo opportunity.

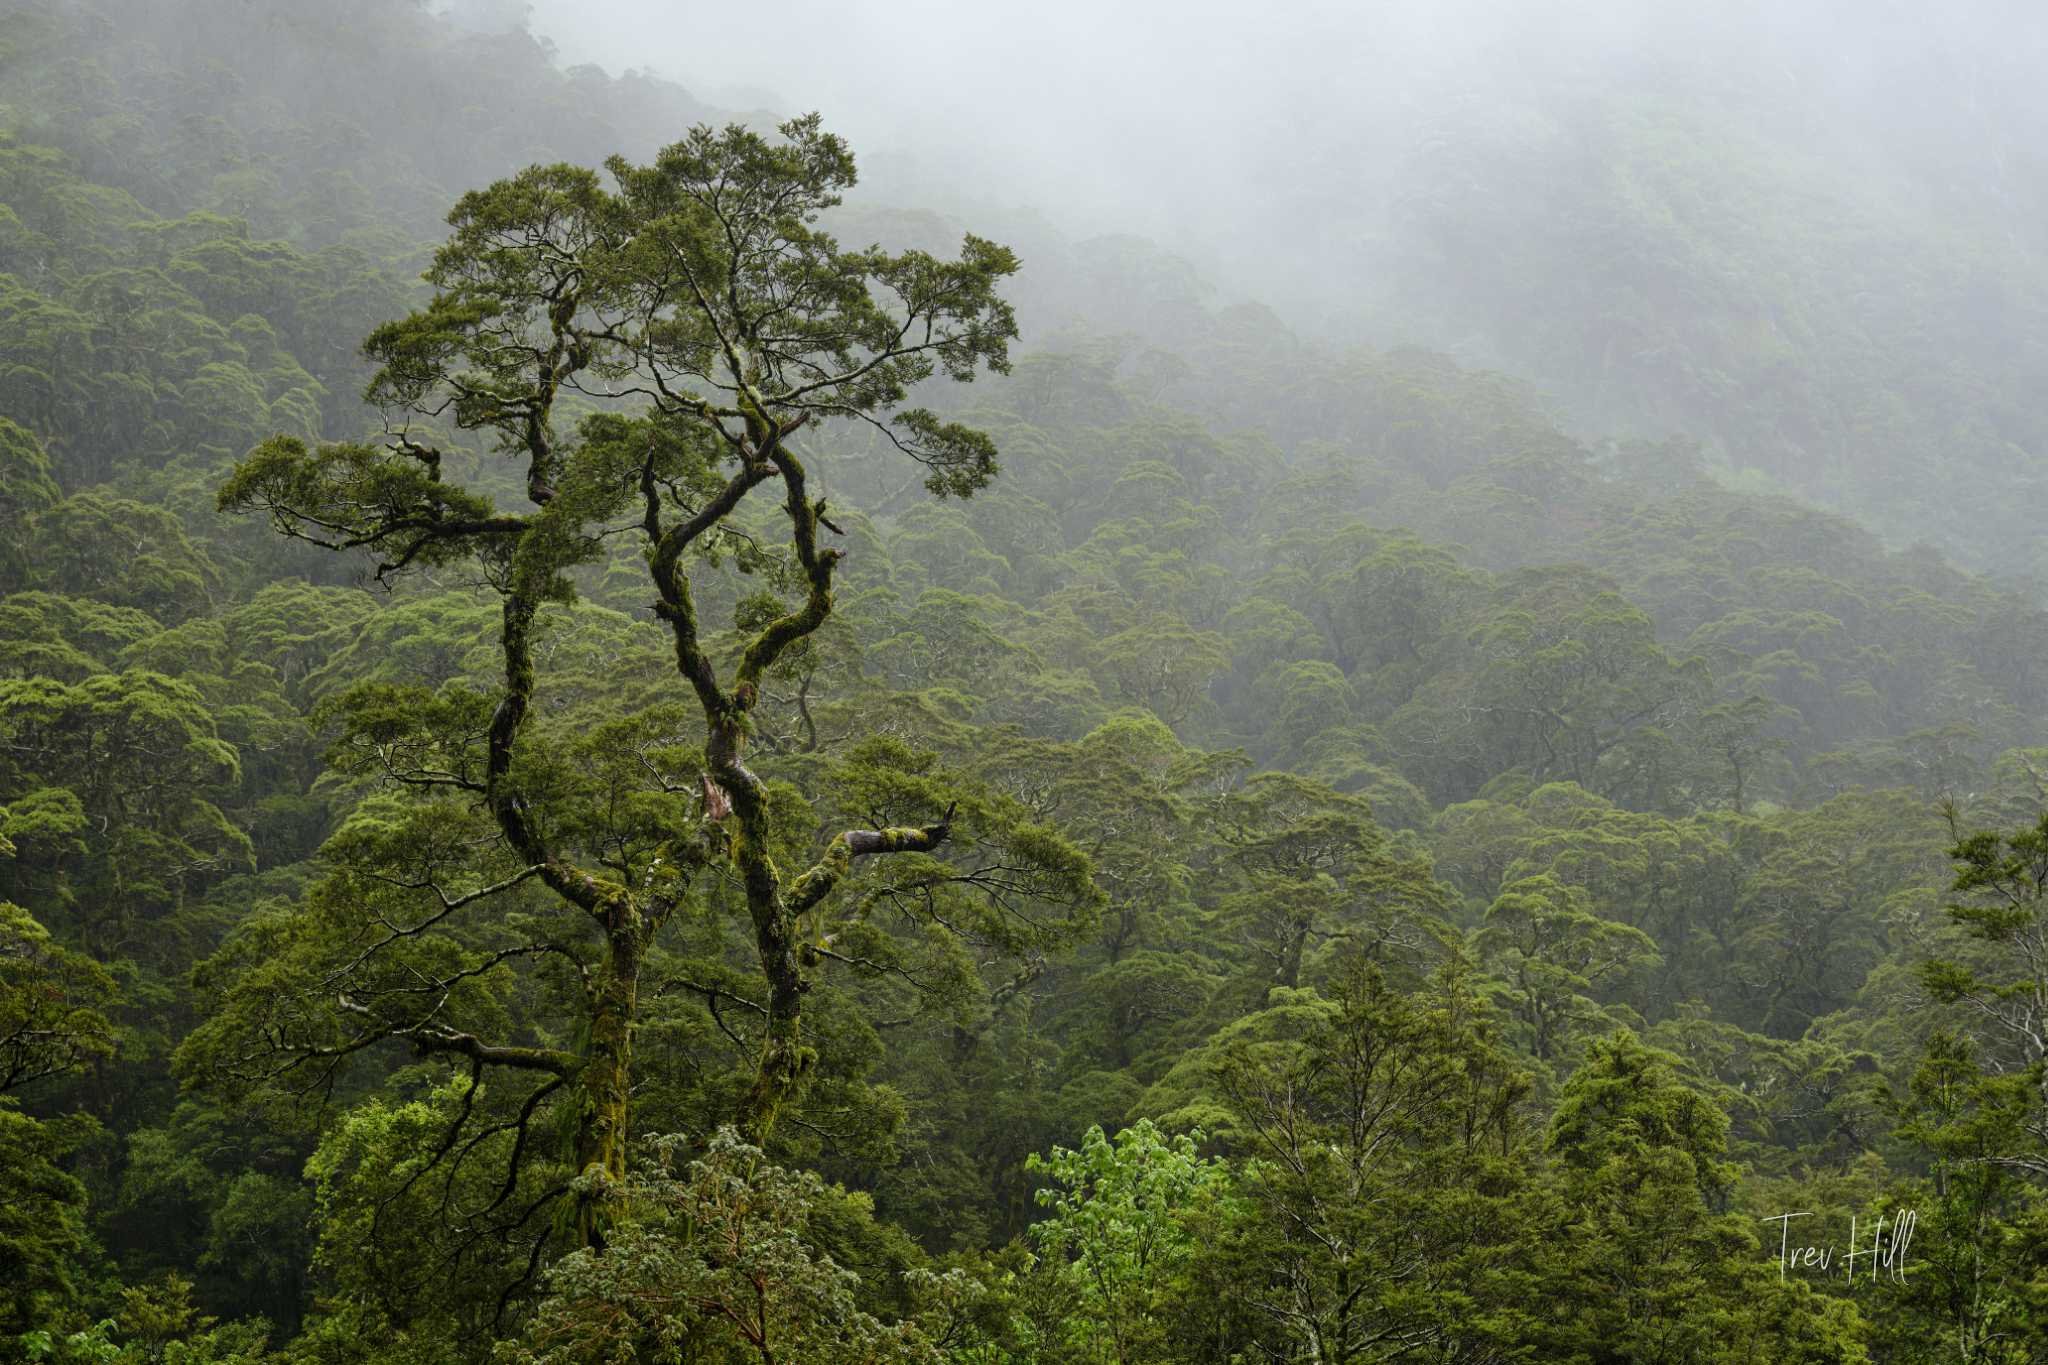
This image was taken early evening and captures the mystical vibe of the Milford track with larger trees jutting out of the rainforest cloaked in low hanging cloud, clinging to the ancient granite cliffs.

Day 2. The second day is a long hike of about 18km slowly gaining in altitude. You will eventually walk out of the cover of the rainforest and travel between giant granite cliffs. Finding images here is not as easy as it sounds as the dynamic range between cliffs and sky can be crazy difficult. It started to rain at about lunch time and it didn’t stop for the rest of the day. I managed to get one image from the day I really like. There is a historic avalanche segment of the track where you have to navigate walking over boulders. This grouping of rocks was an obvious foreground, but my camera lens wasn’t wide enough so I took a handheld 2 shot panorama.

Rain brings waterfalls everywhere on the Milford track.

At the end of day 2 you stay at the new Mintaro Hut, the image below is of the tree outside the balcony of the hut. As you can see it’s raining. Expect lots of rain. I didn’t do much to protect my camera and on day three I was about to find out… i should have. You should definitely look at some sort of rain cover for your camera.

Day 3. The main focus of day 3 is the climb over the Mckinnon Pass. Whether you get a view from the summit is a lottery and on my day I only had fleeting moments when the clouds parted to get some kind of view. I can’t tell you what sort of focal range would suit this location, but a tele-photo lens in the backpack wouldn’t go amiss.

Just below the summit of Mckinnon Pass. While not a great view the low cloud did provide an atmospheric image with the pleasing rock formations and tussock grass.

It was on the descent I came unstuck with my camera. In Fiordland not only is it wet but extremely humid. My camera lens is supposed to be weather resistant, but that didn’t stop an internal element from fogging up. I missed a few shots but luckily after sitting the camera and lens in the warm sun to dry at the problem disappeared, and I took images all of day 4.

Day 4. This is an easy walk, and I took plenty of images. My pick of the day was the image below.

Just a few hundred metres from the end of the 53.5km Milford track I took this image. Probably the wrong time of day but a nice keepsake just the same.

After the end of the Milford track I stayed in Te Anau for the night. My room at the lakeside holiday park was really close to the boat clubs jetty, so it was an easy sunrise location.

Lake Te Anau. Without a tripod I balanced the camera on a concrete wall and took this image.

Photographing the Milford track was a lot of fun, and while I didn’t have the perfect focal range for many images, I still had a great time. If I were to do the trip again I would take longer and wider lens options. Overall the Fujifilm camera did the job, and the image stabilisation worked well. Next walk on my list is the Routeburn track, and I hope to walk shortly in January of 2022.